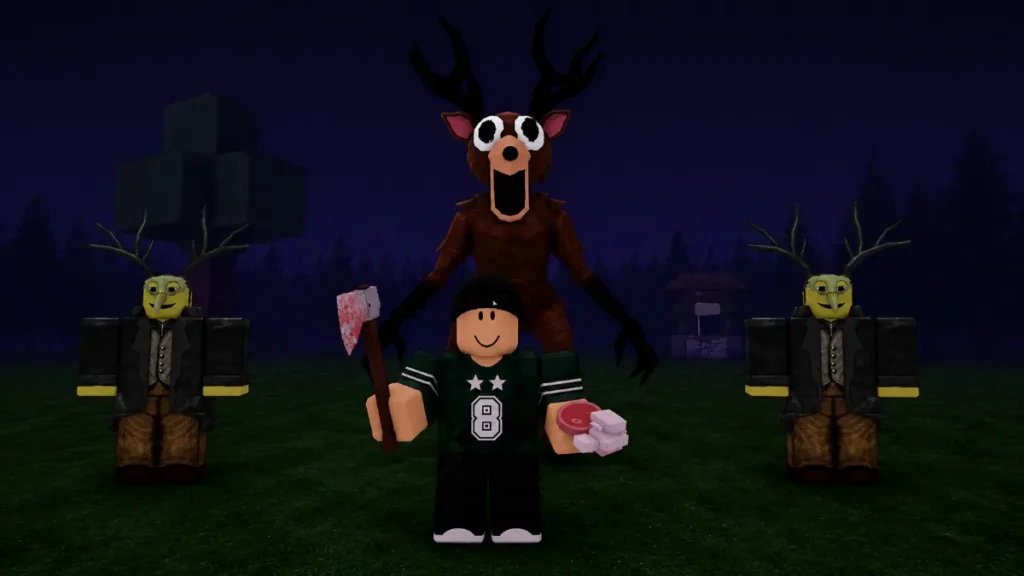
Surviving solo in 99 Nights in the Forest is one of the hardest things you can do in the game. You have to keep your fire going, manage hunger, handle raids, rescue children and farm diamonds with no teammates to cover your mistakes. The good news is that solo runs become consistent once you follow a clear plan and use the current 2026 meta.
This guide focuses entirely on solo play. You’ll learn the best solo classes, exactly what to do on Days 1–4, how to build a compact solo base, how to use the Pelt Trader, biofuel and the Oil Drill, and how to reach day 99 reliably.
Core solo survival pillars
Every successful solo run hits the same fundamentals:
- A strong solo‑friendly class
- A clear plan for the first 4–5 days
- A compact, efficient base that you can defend alone
- A stable food and fuel engine (farms, crockpot, biofuel, later Oil Drill)
- Simple but reliable combat habits and trap usage
- Smart use of events, beds and rescues
If any of these is weak, your solo attempts will feel random. If all of them are solid, reaching night 99 becomes a long checklist instead of a miracle.
Best solo classes in 2026
Not every class is built for solo play. Some are fun in teams but struggle when you are alone. In 2026, solo‑focused players consistently highlight three standouts.
Cyborg – S‑tier solo
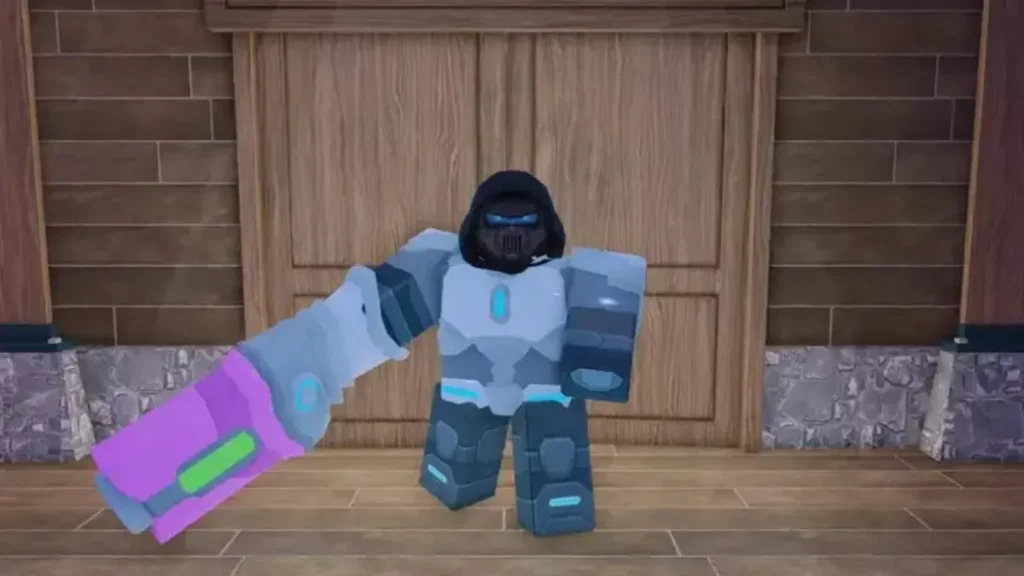
Cyborg is one of the strongest solo classes in the current meta.
- Starts with the Laser Cannon and Alien Armour
- Has very high armor and strong area damage
- Lets you delete cultists and raids quickly without spending tons of ammo
Cyborg is ideal if your goal is serious 99‑night clears and diamond farming.
Lumberjack – beginner‑friendly solo
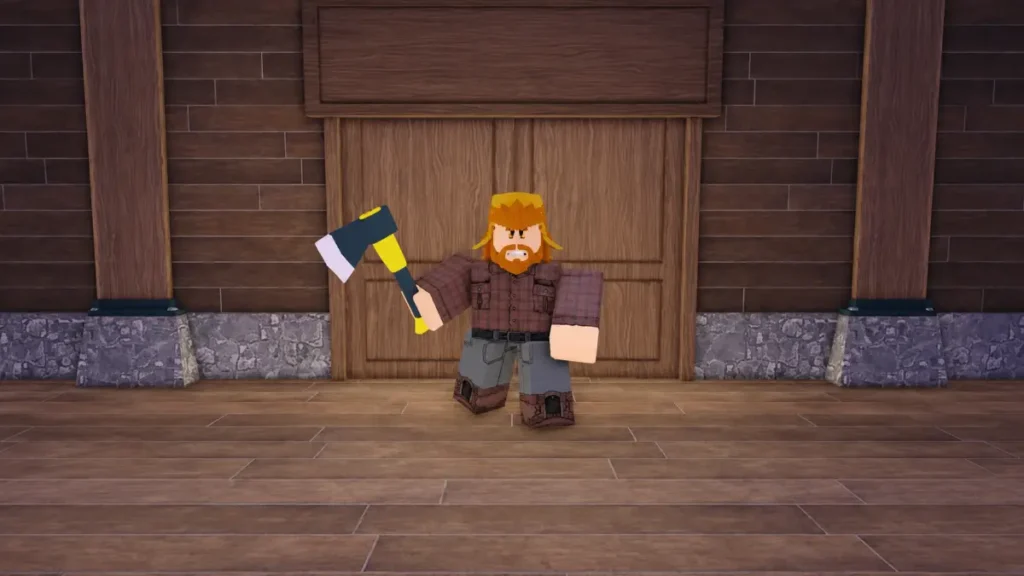
Lumberjack is one of the easiest solo classes for newer players.
- Starts with a Good Axe and has a chance to get extra logs per tree
- Lets you upgrade your campfire, build walls and craft benches much faster
- Perfect for learning early game routes and base building
Inventory classes (Scavenger type)
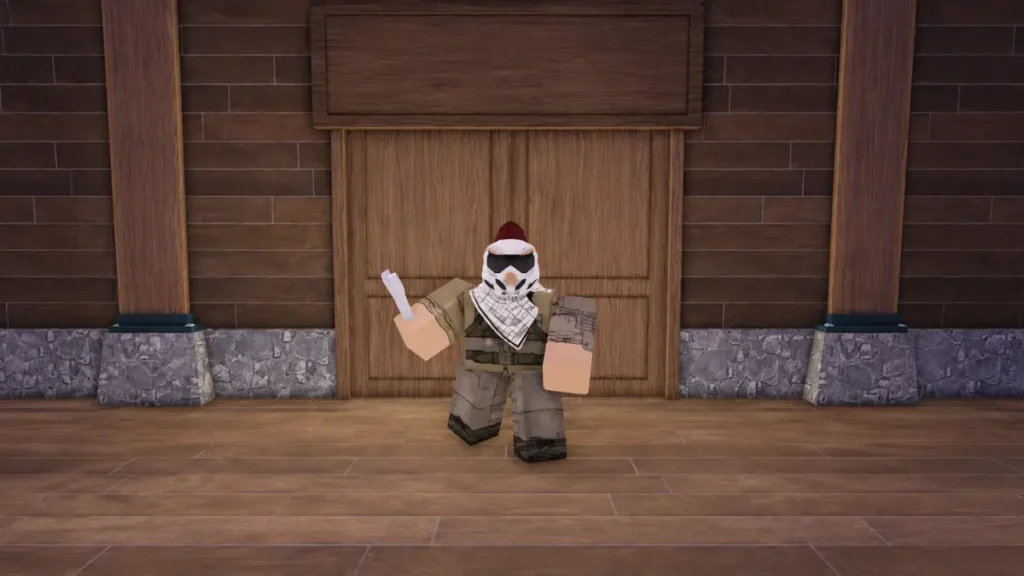
Classes that give extra sack space or carry capacity are very comfortable once you know the game.
- Extra inventory lets you bring back more wood, scrap and loot each run
- Best used when you already understand routes and want efficiency, not when you are brand new
For your very first solo attempts, start with Lumberjack to master early game. Once you are confident, shift to Cyborg for high‑end solo or to an inventory class for relaxed farming runs.
Days 1–4 solo roadmap
Many players fail solo because they “wing it” in the first few days. Here is a concrete day‑by‑day plan that fits the current meta.
Day 1: Fire, map and clearing spawn
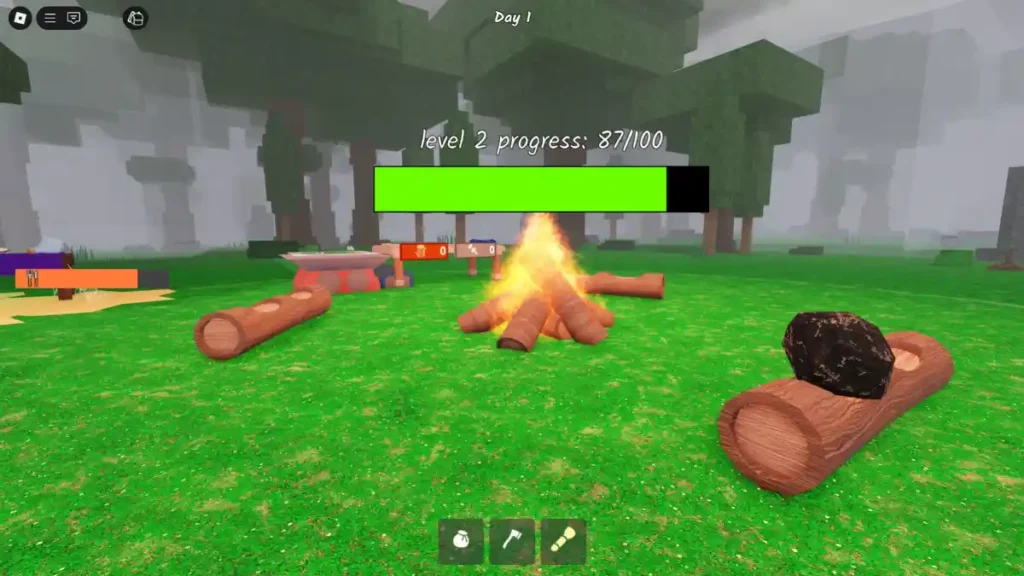
Goals: upgrade fire, unlock map, clear your starting area.
- Chop the small trees nearest your campfire and feed logs into the fire until it upgrades at least once. This expands your visible map and makes the fire last longer.
- Throw extra logs and chairs into the Crafting Bench grinder to get more wood and scrap for early recipes.
- Craft the Map as your first major item. This shows cabins, chests, the Workshop and key structures so you do not get lost.
- If you find coal or fuel cans in starting chests, throw them into the fire for a big duration boost.
Do not wander too far from camp on Day 1. Focus on clearing trees and making sure your fire is stable.
Day 2: Prep for the Pelt Trader
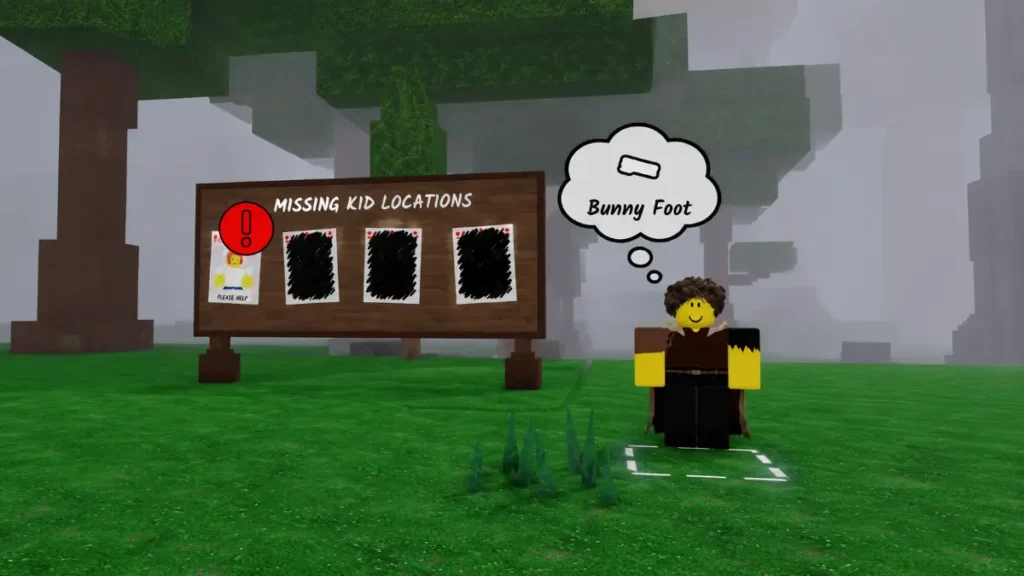
On Day 2 the Pelt Trader visits for the first time with quests and powerful rewards.
- Hunt white rabbits and wolves in the expanded area. They can be killed even with weak axes if you are careful.
- Your early priority pelts are:
- Rabbit’s Foot
- Wolf Skin or Wolf Pelt
- Trade these to the Pelt Trader as soon as you can. He trades pelts for items like sacks, axes, armor and guns, and his quests eventually lead towards the Hunting Badge and strong gear.
Aim to come out of Day 2 with at least a Good Sack and Good Axe, which massively improves your solo efficiency.
Day 3: Campfire 3–4, farms and Crockpot
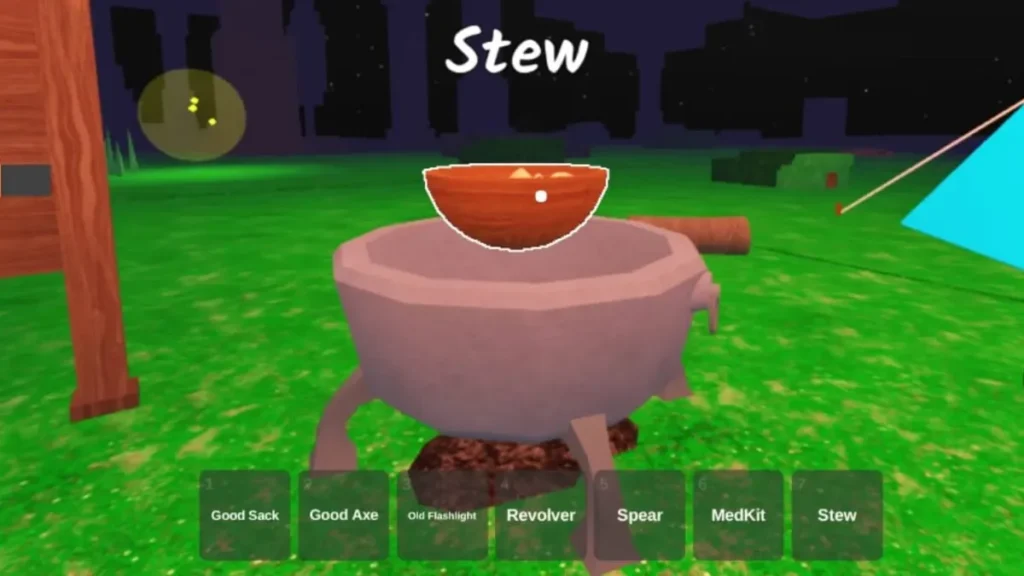
By now, cultists will start appearing more often and raids will get stronger.
- Upgrade your Campfire to level 3 or 4 as soon as possible. Hitting level 3–4 very early is a huge safety and map coverage boost.
- Place your first Farm Plot near the fire and plant carrots. Carrot farms will become your solo food backbone.
- Craft a Crockpot and start turning carrots and meat into Stew, which fills much more hunger than raw food.
- Keep grinding nearby structures for scrap, bandages and basic weapons. If you find the Workshop location on the map, plan a run there soon.
Day 4: Workshop, bandages and base shaping
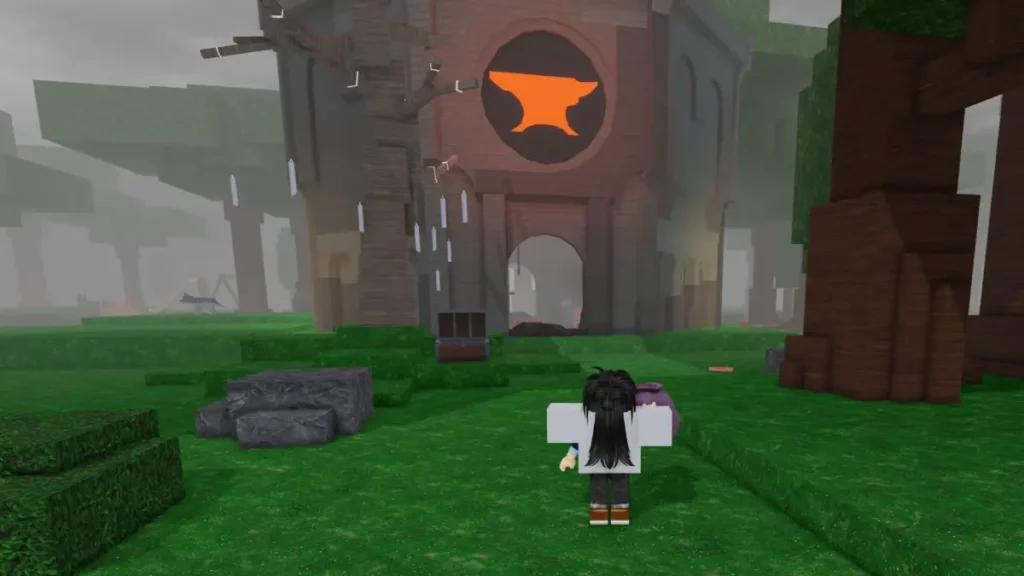
Now you start to transition from “barely surviving” to “building a stable solo camp”.
- Visit the Workshop building.
- Chop the trees blocking its doors, clear the cultists inside (crossbow cultists first), find the three anvil pieces and unlock crafting for items like Bandages.
- Craft a few bandages so you are not fully dependent on random drops for healing.
- Add a second and third Farm Plot, all close to your fire.
- Start laying out your compact base walls and defenses.
If by the end of Day 4 you have:
- Campfire at level 3–4
- Map, and ideally Compass and Sundial
- Good Sack and Good Axe from the Pelt Trader
- Crockpot and 2–3 farms
- Workshop unlocked and at least some bandages
then your solo start is stronger than most players.
Building a compact solo base
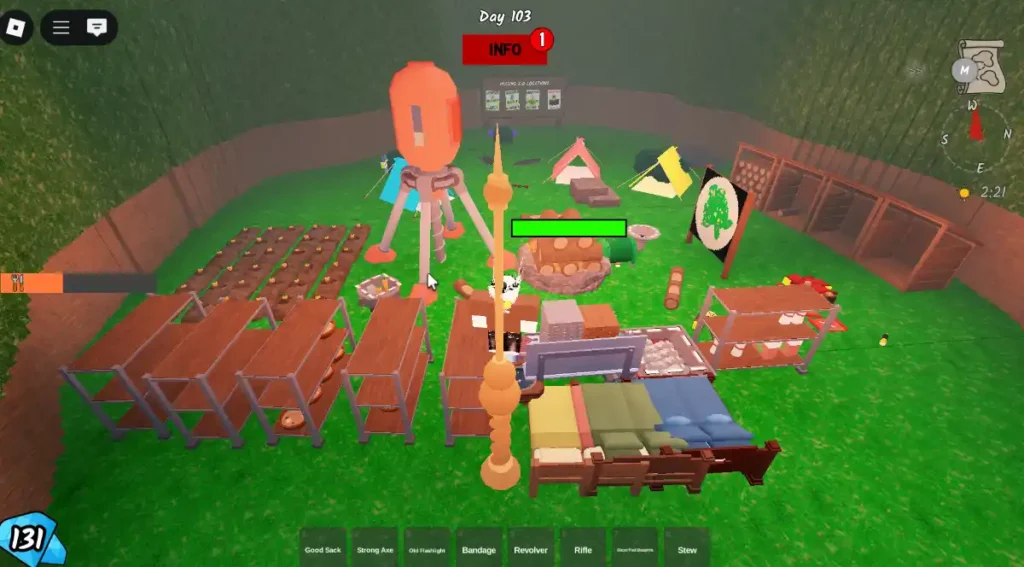
Solo players cannot defend a giant fortress from every direction. The modern solo meta strongly prefers small, tight bases that are easy to defend alone.
Location and layout
- Build around the starting campfire so you keep access to your crafting bench and grinder
- Clear trees and clutter so you can see raids approaching
- Keep your core structures in a tight radius:
- Campfire in the middle
- 2–3 Farm Plots in a small cluster
- Crockpot right next to the farms
- Biofuel Processor close by so you can throw food in and biofuel out directly into the fire
- Beds and benches inside your wall ring
Pathing and walls
- Use walls, shelves, storages or other objects to form a ring around your campfire. Cultists often struggle with shelves around the fire, letting you poke them safely with a spear from behind the barrier.
- Leave a single narrow entrance in your wall ring so raids are funneled into a predictable kill zone.
- Place bear traps in and around that entrance. Lure cultists through them, reset traps and repeat.
In solo, a compact base is much easier to defend than a huge one.
Fuel, Biofuel Processor and Oil Drill
Keeping your campfire alive is the core of survival. Hunger and darkness are much easier to handle when the fire is always burning.
Biofuel Processor
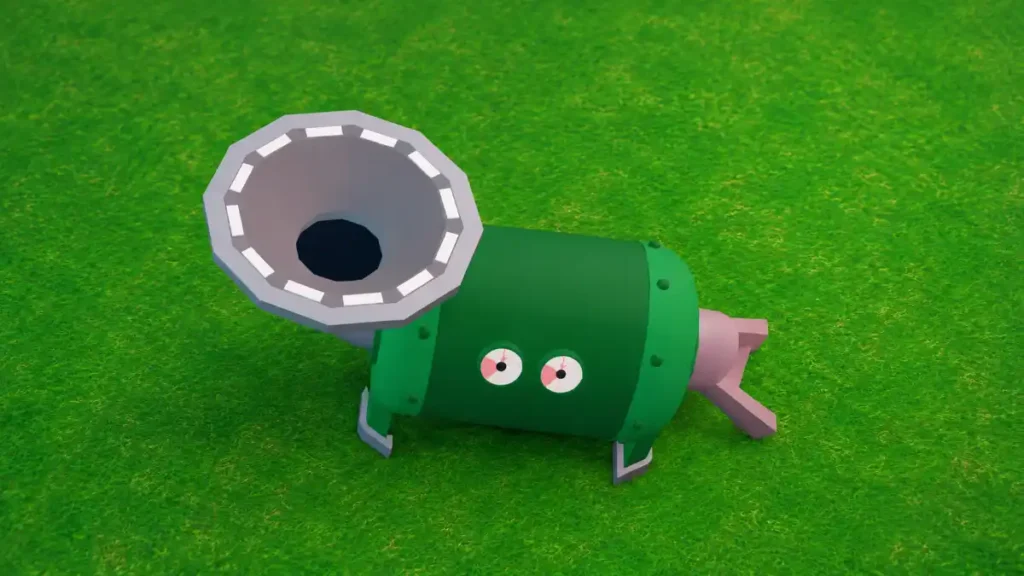
The Biofuel Processor is a Crafting Bench Tier 3 machine that turns items into Biofuel, a special fuel for your campfire.
- Craft it once your crafting bench reaches Tier 3
- Place food items (such as carrots or meat) on top of it; after a short time, the food is converted into Biofuel
- Biofuel is used exclusively to fuel the campfire and is more efficient than many basic fuels, especially useful in solo where you cannot constantly chop trees
With a few farm plots feeding a Biofuel Processor, your fire and hunger become mostly automatic.
Oil Drill and oil barrels
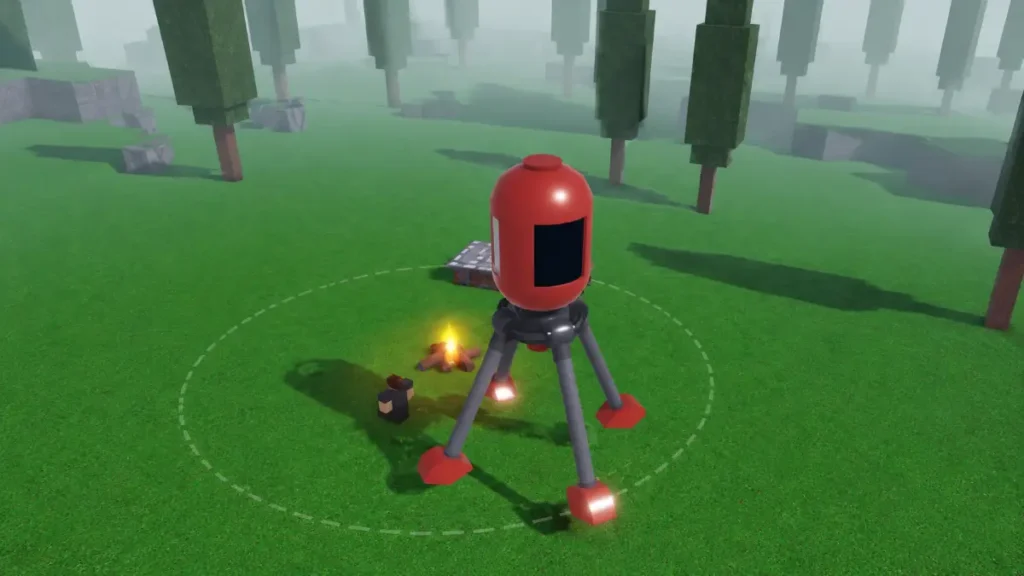
The Oil Drill is a late‑game fuel machine, not just a hiding trick.
- It is crafted at a high‑tier Crafting Bench and, once placed, periodically produces Oil Barrels
- If you place the Oil Drill next to the campfire, the Oil Barrels can drop directly into the fire, effectively auto‑feeding it
- Oil Barrels are one of the strongest fuels available, so once you have an Oil Drill running your fire becomes almost maintenance‑free
You can still use creative hiding tricks with the drill if they work in your runs, but think of the Oil Drill primarily as a fuel engine.
Managing hunger, beds and time
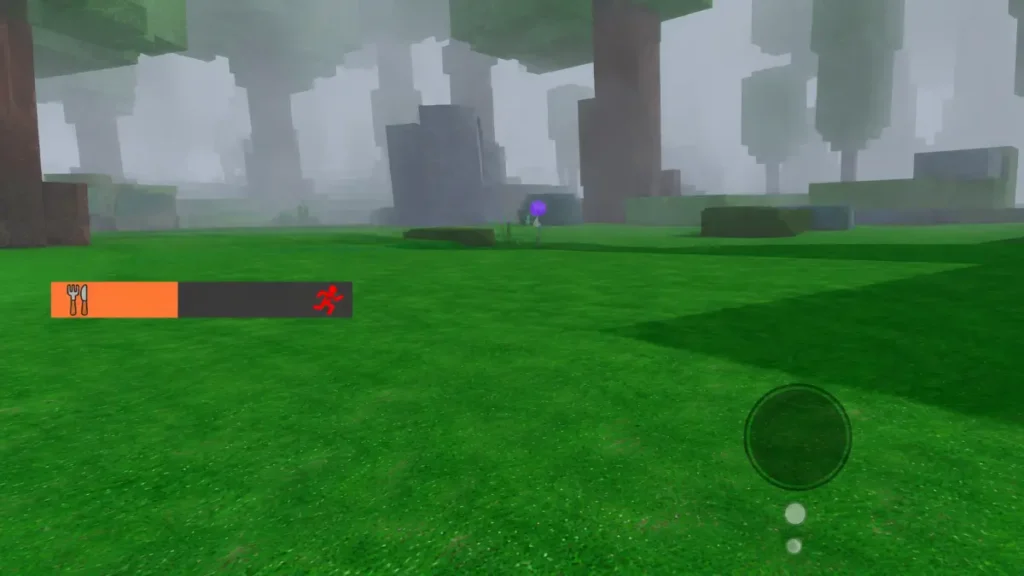
Solo players must always be watching the hunger bar. A few simple systems keep it under control.
- Use 2–3 Farm Plots for carrots, close to the fire
- Turn carrots and meat into Stew in the Crockpot for efficient hunger refills
- Always carry at least 1–2 stews when leaving camp, especially for rescues or strongholds
Beds are equally important:
- Build and upgrade multiple Beds inside your base
- Use beds to heal after raids and to skip the most dangerous or boring parts of the night once your defenses are solid
- Avoid skipping through nights where you want specific events (like meteors) or when you are not fully ready
Combat, weapons and traps for solo
Solo combat is about simplicity and safety, not flashy weapon combos.
Melee: spear first
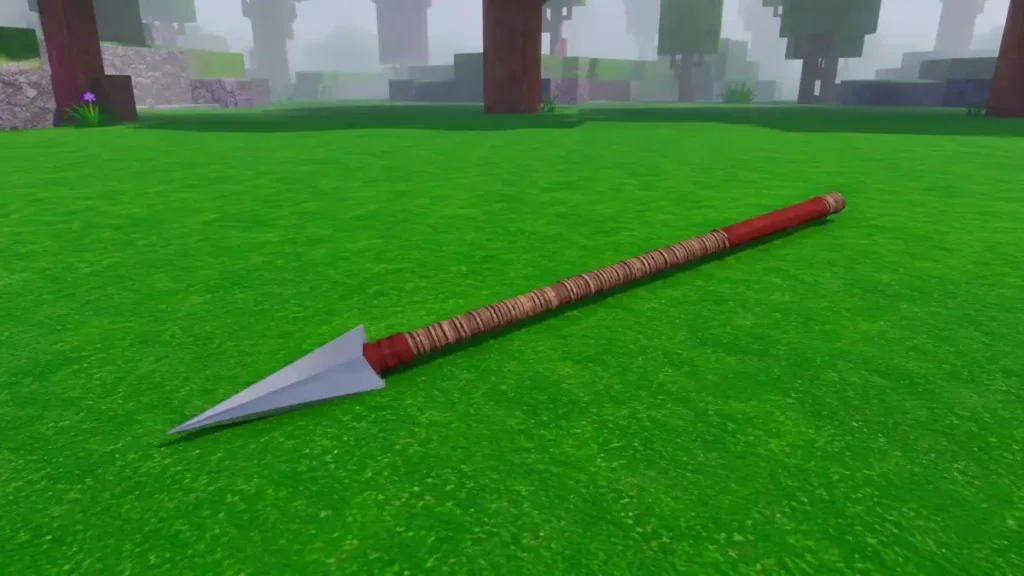
- A Spear is one of the most recommended early solo melee weapons
- It has good reach, solid damage and is easy to use while circling enemies
- Practice side‑stepping and circling wolves and cultists while poking instead of trading hits face‑to‑face
Ranged: guns and priorities
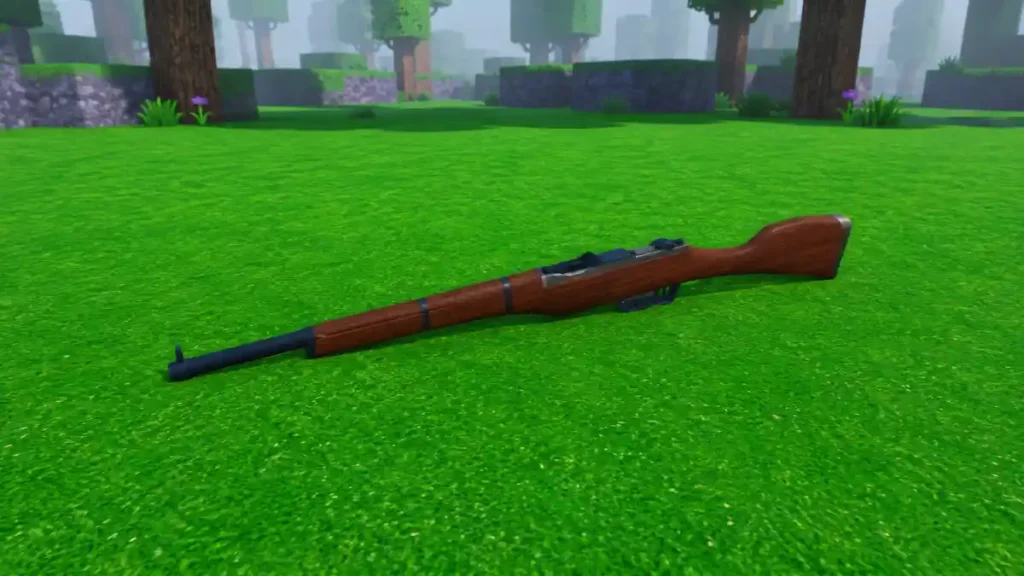
- Revolvers, rifles and other guns are best reserved for priority targets:
- Crossbow cultists
- Deer or special enemies
- Bears or alpha wolves when you do not want to risk melee
- Go for headshots when possible to end fights quickly and save ammo
Traps and terrain
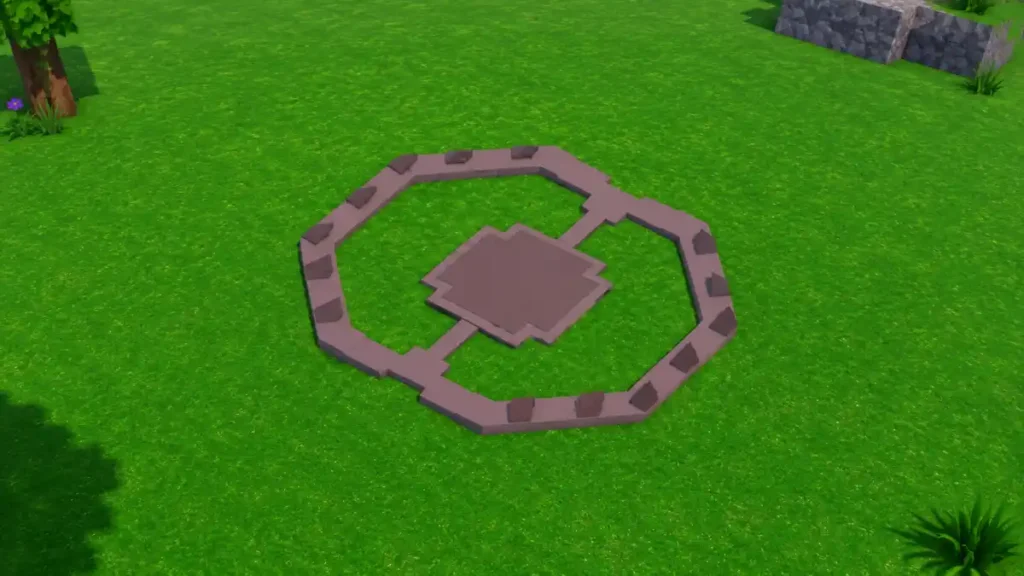
- Craft Bear Traps as soon as your bench allows it
- Place traps in your single base entrance and in narrow chokepoints around your camp
- Use terrain like rocks, ladders and walls to hide while you shoot or to break line of sight; shooting around corners and over walls is a safe way to thin out raids
Target priority
- In raids and Workshop clears, focus crossbow cultists first, then other threats
- During animal fights, try to isolate targets rather than letting packs surround you
Check Out this also: Best Weapon in 99 Nights in the Forest
Rescuing children in solo
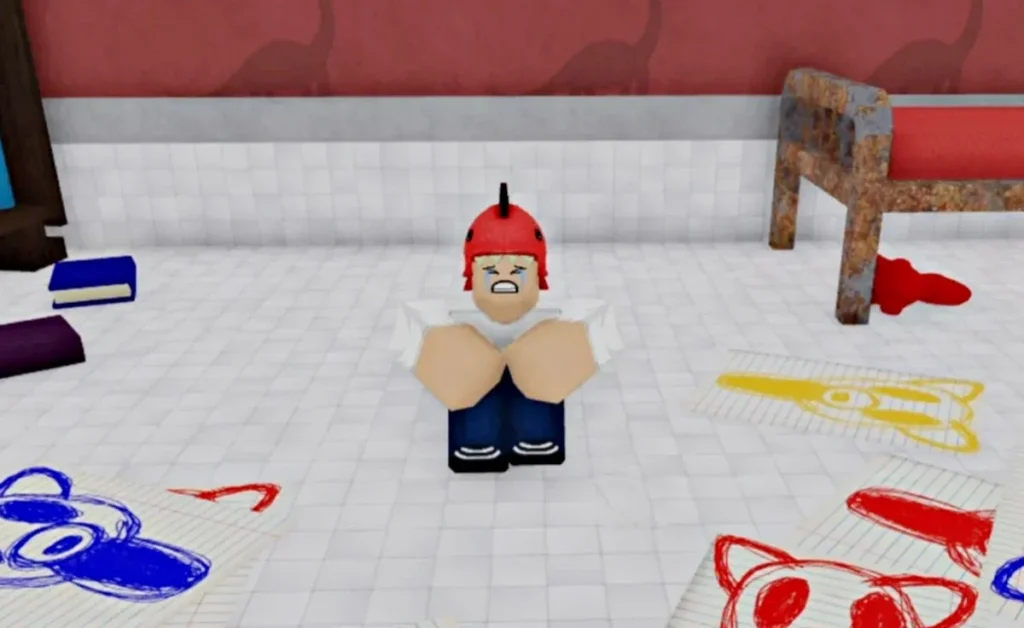
Rescuing children speeds up the day counter but also adds enemies and pressure. You need a plan.
- Children are locked behind animal fights in caves: first wolves, then alpha wolves, then bears
- For the first two children, a spear and simple melee tactics are usually enough
- For the last children, it is much safer to wait until you have a decent ranged weapon and some traps
- If you are undergeared, you can use bear traps arranged in a U‑shape around the child or the bear’s path to lock it in place and kill it with minimal risk
Bring the children back to camp as soon as you rescue them. Each child rescued multiplies your day count, so the game timeline speeds up. Make sure your base is ready before you rush all four rescues.
Safe AFK in solo runs
AFKing in solo is risky because hunger and time continue to move, but sometimes you need it.
Basic AFK rules:
- Only AFK when you are well‑fed and have stew in your inventory
- AFK inside your compact base, not out in the open
- Build small boxes or tight corners where enemies cannot easily path to you, and avoid AFK during early nights with frequent raids
Some players also use staircase spots or structures where enemies cannot climb, but you should always test any AFK spot for a few in‑game minutes before leaving your game unattended.
Events, meteors and badges
Events are not required to beat 99 nights solo, but they can give you strong gear and diamonds.
- Meteor showers drop meteor shards and special ores, and sometimes spawn alien creatures; these can lead into badge chains or powerful items depending on the update
- Completing Pelt Trader quests for rabbit, wolf, alpha wolf and bear pelts eventually rewards the Hunting Badge and useful items
Treat events as bonus chances to get ahead. If an event is near your route and you are prepared, take it. If it would drag you far from your base when you are weak, skip it and stay safe.
Solo checklist (quick recap)
- Pick a solo‑friendly class (Cyborg, Lumberjack, or an inventory class you already understand)
- Follow a clear Days 1–4 plan (fire, map, Pelt Trader, farms, crockpot, Workshop)
- Build a compact, easy‑to‑defend base with farms, Biofuel Processor and good walls
- Use a simple weapon plan (spear first, then a reliable ranged gun, plus bear traps at your entrance)
- Rescue children only when your base and gear can handle the extra pressure
Hitting most of these points will make your solo runs much more consistent and give you a real shot at surviving all 99 nights.